all that glitters
become of my collection actually?
Anyway, already I'm getting sidetracked by glitter...I recently started a little pinterest board to collect all my glitter loves and I thought now would be the perfect time to share a little glitter crafting with you.
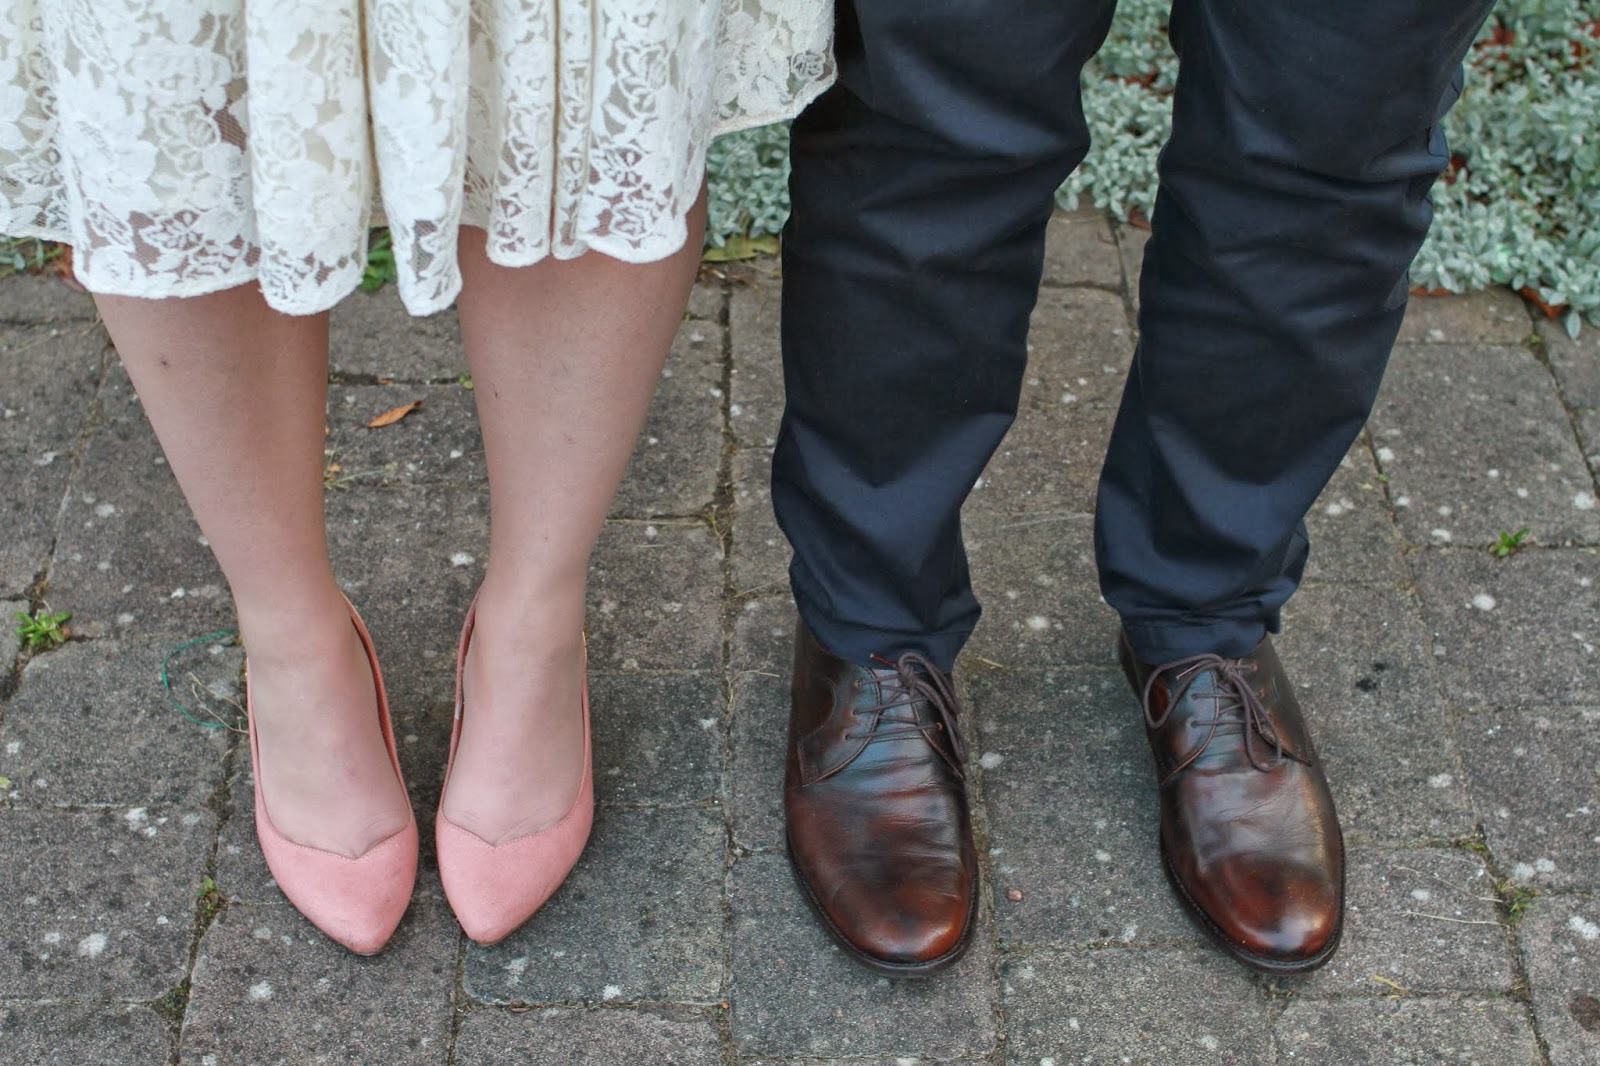
When I was searching for shoes for the wedding I couldn't really find anything that was perfect. I wanted something classic and vintage styled, but with a little bit of character and not too high or strappy. So after searching high and low in the end I decided that customising would be the best bet. I found a lovely pair of shoes in good old M&S which seemed to fit the bill, and for a bargain of £20 too. I then bought a few supplies (or raided Theo's craft box) such as PVA glue and some gold glitter. I think I had seen something similar in Topshop, but they were all too high and too expensive.
So here is my simple step by step guide of how to add a little glitz to some shoes, which would be great for the party season too!
You will need:
A pair of shoes of your choice
PVA Glue
Loose glitter (large particles)
Spray adhesive or varnish
Small paintbrush
I was really happy with the way they turned out and I'm pleased to say that they survived being worn all day and I got lots of compliments!


I LOVE this.
ReplyDeleteSo so so pretty and such a perfect idea, xxx
Where's the credit for my handy work ;)
ReplyDeleteVic I knew they were your hands! Lovely!
DeleteI glittered some boot heels once. So fun to do and who can resist a bit of sparkle right?
ReplyDelete